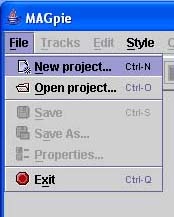
 Once MAGpie has started, go to the File menu, and choose New
Project.
Once MAGpie has started, go to the File menu, and choose New
Project.MAGpie has no video editing capability, so the video needs to be ready for captioning before you start. This can be created using any video editing package.
I prefer to work from transcripts rather than transcribing on the fly, so the project to be worked on here has a transcript of the video supplied. This text file is plain text with each caption being separated by a blank line. If you are reworking previous SMIL or SAMI text files then it is also possible to import these into MAGpie 2.
The audio, video and text assets for this project are located in a directory called assets.
Once MAGpie has started, go to the File menu, and choose New
Project.
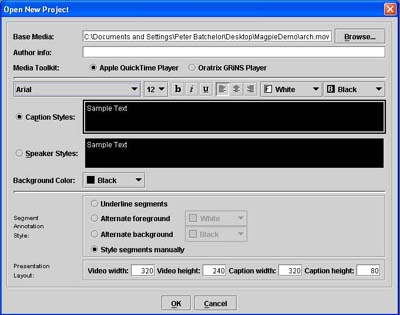 For this project, the Base Media is a QuickTime video titled
arch.mov. Browse through the file structure on your computer
to the location of this file.
For this project, the Base Media is a QuickTime video titled
arch.mov. Browse through the file structure on your computer
to the location of this file.
Author info may be used to detail the creator of the video, or perhaps the creator of the SMIL presentation.
Use Apple QuickTime Player if the Base Media is an AVI or MOV (QuickTime) file, and use the Oratrix GRiNS Player if the Base Media is a Real Media file (GRiNS Player is only available on PC).
Size and font of the captions can be selected, as can the alignment and foreground and background colours. Not all of these attributes work in all players. For example, font sizes 8 and 10 display as the same size in the Real Player, and Real Player cannot align text to the right.
For this project, in the Segment Annotation Style, choose Style segments manually.
The Presentation Layout allows you to specify the dimensions of the video being used, and the amount of space being allocated for the captions. In this case, the video being used is 320 x 240 pixels, so no change is required. The caption height can be adjusted later if necessary, after previewing to see if the caption fits into the amount of space allowed.
Clicking OK will take you to a dialog box for creating a project track.
Index | New Project | Project Track | Captions and Audio Descriptions | Testing | Exporting